Audio post-production can be lengthy based on the type of project. At times, it can take but a few steps until the final product. At others, you’ll have so many steps to take care of that you’ll need to create an organized workflow.
In this article, we will outline the most effective audio post-production workflow for longer projects. This workflow will give you an idea of what to expect during the entire process. Just don’t forget — if your project is shorter, you can just skip the steps that you don’t need.
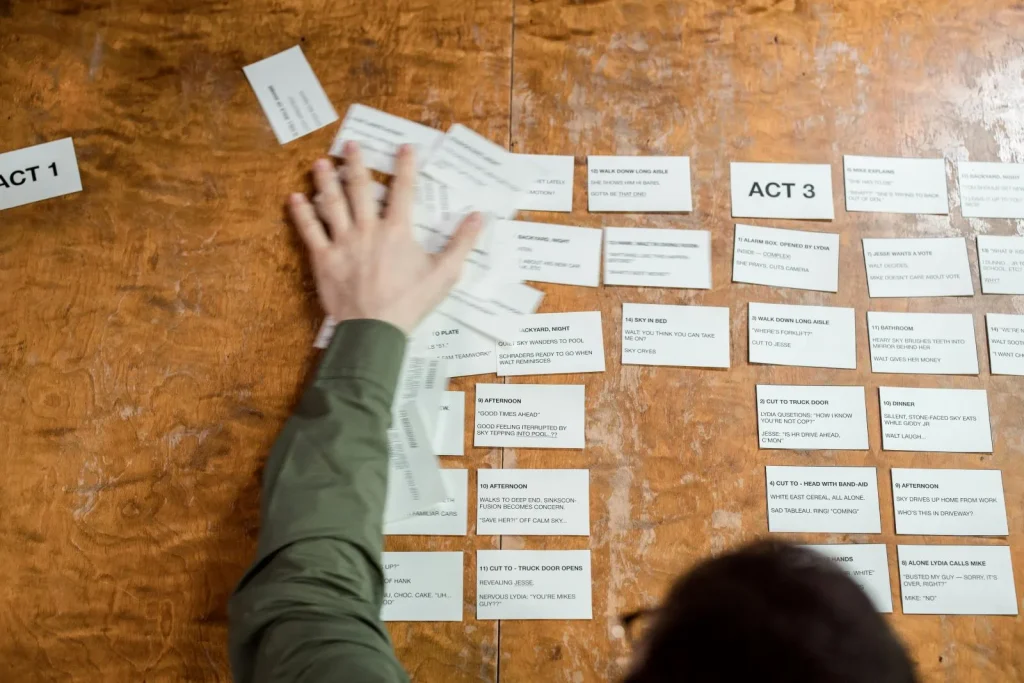
Step 1. Pre-Production
The first step in every audio post-production workflow is pre-production. Yes, this step is technically not a part of the post-production, but it is still important.
Pre-production plays a critical role in the quality of the final product and can minimize the time needed for post-production later on. The ideal workflow includes various things like:
- Scouting locations
- Forming your sound team
- Spotting sessions
- Gathering equipment
- Sourcing audio
- Preparation for recording
- And much more
Once you’ve ticked all the boxes on this checklist, you can proceed to recording.
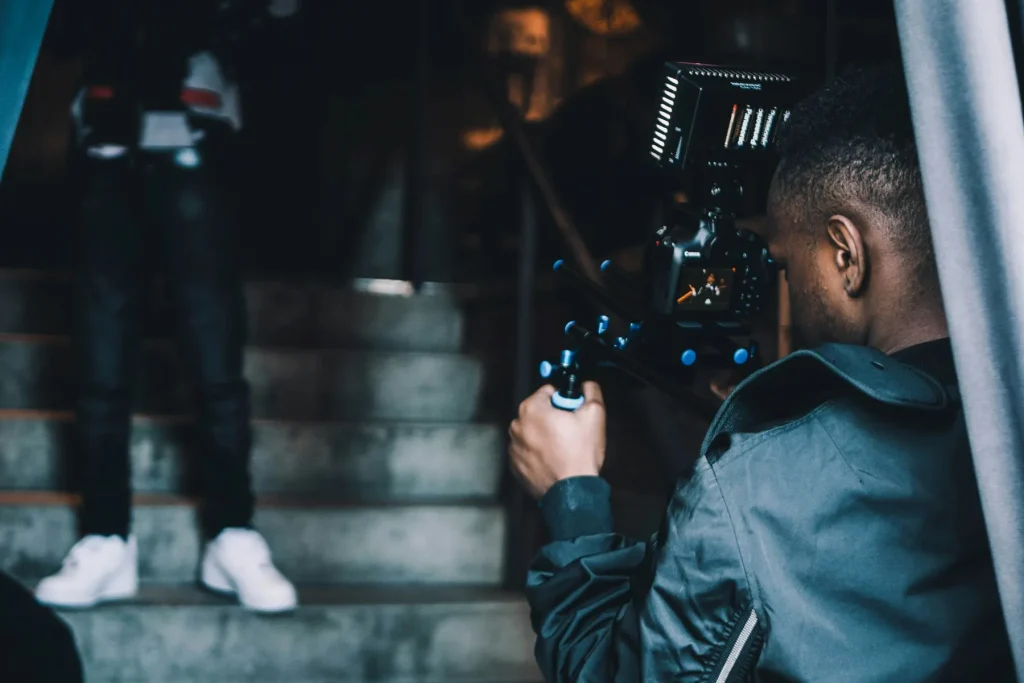
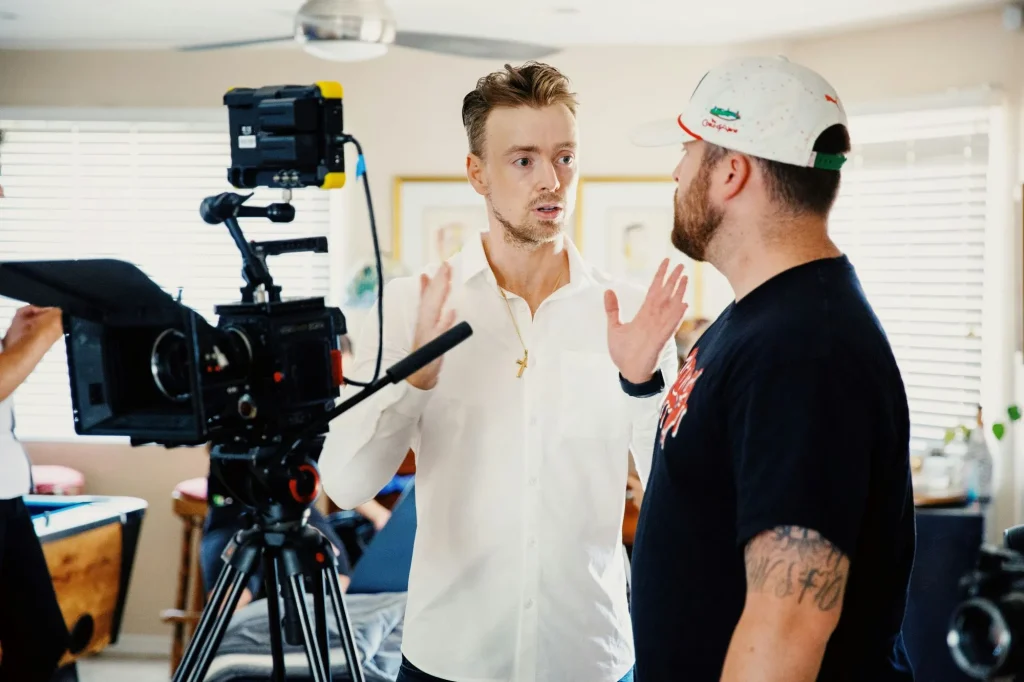
Step 2. Recording
During recording, you will capture all the necessary audio and other sounds you can get. That includes dialogue, environmental sounds, and any others you need.
During this step, you will need high-quality microphones. If your equipment isn’t up to par, you’ll spend much more time with audio post-production. Sometimes, you may not even be able to fix all the consequences of low-quality gear.
As long as you have this covered and are working with professionals on the set, you’ll be moving on to the next step in no time.
Step 3. Editing
Editing is the most important part of your audio post-production workflow, and it includes several phases based on the type of project you are working on. The primary goal of this step is to make the audio as good as possible using audio post-production software.
The first rule you should keep in mind is to try to improve everything you can and replace every part of the audio that can’t be fixed. Whether you have too much background noise or the dialogue is inaudible, you’re supposed to address it during editing.
The editing part of the audio post-production workflow typically includes the following:
Dialogue Editing
During dialogue editing, you will carefully go through the audio and listen for problems with conversations. You’ll need the best audio post-production equipment to hear everything properly and address the problem as soon as you spot it.
You can copy and replace problematic sounds and even improve syllables by copying ones that sound better. You can also adjust the sound, add effects, trim, fade, extend, use an equalizer, and so much more.
There will likely be cases where some of the dialogue will be unusable, especially if you are recording outdoors. Sounds of traffic, airplanes, or even air conditioning can ruin your audio and make it difficult to salvage parts. But you still have options.
ADR
ADR or automated dialogue replacement is common practice in movies and TV shows. To improve the quality of audio or replace inaudible dialogues, the actors will return to the studio and re-record problematic parts.
Actors will most likely watch the scene on a screen and try to replicate the dialogue as closely as possible. Since the voice is recorded in the studio this time around, you won’t have any issues with quality, and you can add various effects or even mix it with the original recording.
Even though replicating dialogue perfectly in a studio environment can be challenging, it is a common practice and many studios use it. Just remember that ADR should be your last option, and you should use it only if there is no other way to fix or repair the original dialogue.
Sound Effect Editing
During this stage, sound designers will add different effects to improve the scenes. These could be anything from removing unwanted background noises to syncing music with the dialogue to create an emotional impact.
Generally speaking, there are four main types of effects sound designers can add:
- Hard sound effects
- Atmos sound effects
- Design sound effects
- Foley
Hard sound effects are used to cover a part of the recording or unwanted sounds, while atmos effects are significantly longer. They are designed to improve the scene and add gravitas to it. These can be the sound of wind, ocean, rustling of leaves, and similar.
Design sound effects are sounds you can’t record in traditional ways but must be created from nothing or through manipulation. For example, these sound effects are explosions, spaceship sounds, laser guns, and similar.
As you can see, not all parts of sound effect editing are required for all projects. If you are doing a documentary, there is a high chance you won’t need design sound effects, while a sitcom show taking place indoors is unlikely to need any atmos sound effects.
Foley Recording
The last type of sound effects is Foley recordings. Foley artists are in charge of recording subtle sounds often used in movies and TV shows.
These can be anything from the sounds of footsteps to the ruffling of clothes. The artist will watch the video, and they will use a variety of objects to create sounds that will accompany the original track.
Needless to say, Foley recording is not always necessary, and it depends on the type of project. Podcasts won’t need this step, but it is essential for movies.
Sound Design
Sound design is the step focused on the beginning stages of putting everything together. The sound designers will start mixing ambient sounds and effects and work on ways to make each scene impactful.
There are still a few elements missing from the equation, and it is not yet time to work on the final version of the product. The goal is to add dialogues, Foley, and sound effects to create a coherent version that will be ready for the next step — adding the score.
Music Scoring
Once the first draft of the project is finished, the composer can start working on a score. It is important to bring the right person for the task, and the score can make or break your product. Take for example the themes from famous movies like Star Wars or Batman. They have become an integral part of popular culture, and even those who haven’t seen the films can recognize the music.
Although musicians are often stars of the show, and they join the process near the end. They need to have all the dialogues and sound effects to start working. It is also a common practice to create themes that will go with the scene. They must match the mood and timing to have the most impact.
Once the scoring is done, you can proceed to mixing.
Step 4. Mixing
Mixing is the process of putting the whole thing together. This step takes the products of all the previous steps and merges them. In other words, mixing combines sound effects, dialogues, and music into a single track.
The first mix you create is called a pre-dub mix, and it is the first version with all elements combined. The final mix will come after that, and it will be further tuned after the pre-dub is approved. It is quite common for clients to be present during the final mix and provide additional feedback.
In most cases, the loudness of dialogues is used as a reference for the intensity of other sounds. After all, the audience must be able to hear the conversations above all rest. When the mixing is done, next comes mastering.
Step 5. Mastering
Mastering is the process of fine-tuning the final mix and ensuring all effects, sounds, dialogues, and music are well-balanced. These finishing touches can include enhancements to the original sound, creating overall consistency, and finalizing the entire process.
Another thing you can work on in this step is dialogue — to further balance its loudness. You can also clean up anything that might have slipped through the cracks during the previous steps.
In mastering, you will get to finally hear the entire audio together, and it will be rather close to a final product. There is only one thing remaining.
Step 6. Finishing the Process
The last thing you need to do is export the files and deliver the product. In most cases, you will need to export WAV files and send them separately. Naturally, you can also combine them and send both versions to the client.
It all depends on the project and the client’s needs. Sometimes, sending a WAV file will be enough, but there are situations when the client will request ADM BWF files or even entire sessions.
Keep in mind that these files can be huge, even if there is no video. Based on the platform that will be using the audio (or audio and video), you might even need to save the project in different formats.
For example, theaters, TVs, VODs, and streaming platforms often use different formats. Before you send the final version of the audio, be sure to double-check if you’ve converted it into the right file type. Oh, and don’t forget to always have a backup — just in case
Every Audio Post-Production Workflow Is Situational
As you can see, most steps of the process depend on the project. Some content won’t require Foley or sound effects, so you’ll only need to go through some of the steps listed above. Dialogue editing, mixing, music scoring, and mastering are almost always necessary.
Although this guide focuses on the most complex projects, there’s a high chance you won’t need to worry about most of the things mentioned here, especially if you’re a beginner.
But even if you are trying to tackle a more complex audio post-production process, you don’t have to go through it alone.
Elevate Your Audio Post-Production With Force Media
There are so many moving parts in the audio post-production process that you can easily get overwhelmed if you’re inexperienced in the field. Fortunately, our team of experts at Force Media can handle everything for you.
Our team can help you with any part of the audio post-production process, including:
- Audio post-production
- Dubbing
- Voice-overs
- Translation
- Video post-production
- Music creation and licensing
- Sound design
Contact us today, and let us help you take your audio quality to the next level!